Snow Trail Effect in Unity using Shader Graph
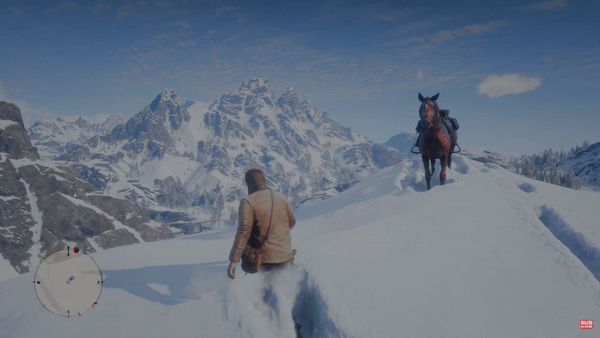
Have you seen snow trail effect in games like Red Dead Redemption 2? It looks like a very complex thing to do because you can see the snow deforms as the player passes by. While it is definitely not on the same level, we could replicate it fairly easily using shader by modifying the vertex position of the mesh that we render.
But wait, the snow interacts with player movement! That’s the neat part, we are going to utilize a dynamic texture to tell our shader the track of the player. In Unity, we can use render texture to achieve this. This texture will store player’s track movement at runtime.
In this tutorial, we are going to attempt to replicate snow trail effect using shader. With this shader, you can make a simple plain become an interactive terrain covered in snow that interacts with other objects. This GIF below shows the final result.
For this tutorial, we are going to need a plane mesh that has a lot of vertices. The default plane object from Unity is not going to suffice for this purpose, so I created a new one in Blender and subdivided until it has enough vertices. You can do that yourself or download that from here. The full source code for this project is available at SteveImmanuel/unity-snow-shader.
Before we start, this tutorial assumes you have the following requirements:
- Basic understanding of Unity
- Basic understanding of Shader
- Basic knowledge of linear algebra
Project Setup
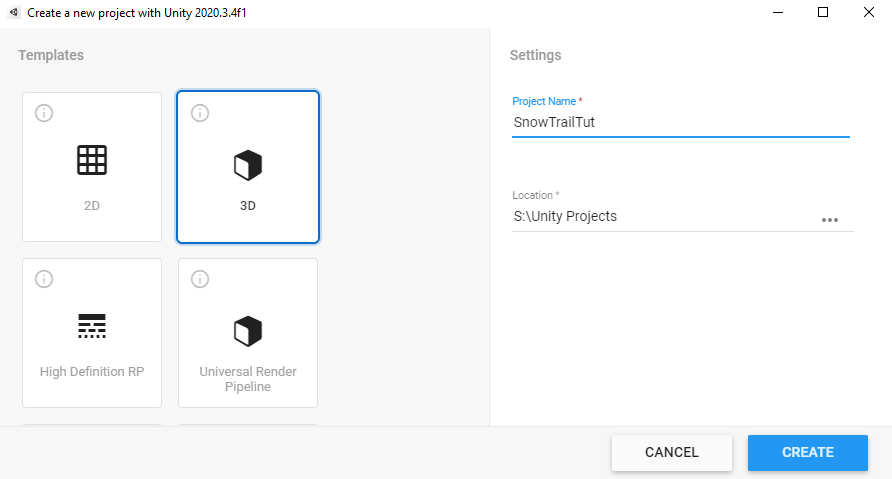
Let’s create a new Unity project. We are going to use Universal Render Pipeline (URP) for this project, so you can choose the URP template or use the 3D template and then upgrade it later on once you are inside Unity.
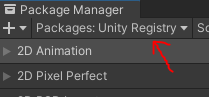
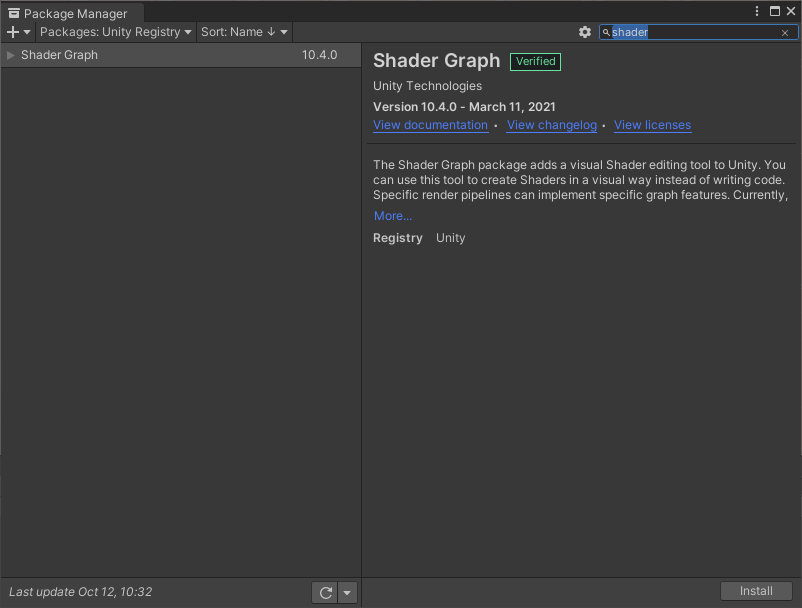
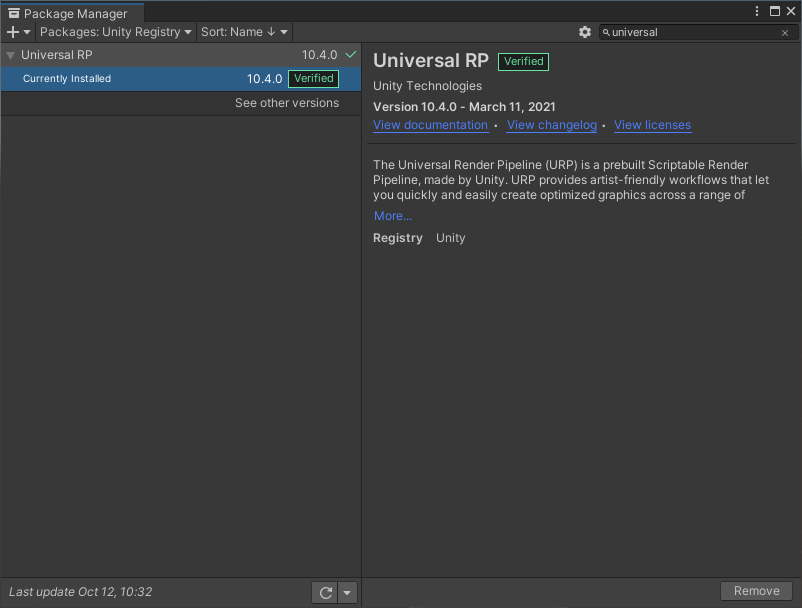
Next, we need to download the Shader Graph package from the Package Manager (Window->Package Manager). If you can’t find it, make sure to choose the Unity Registry from the drop down menu.
Make sure these two packages are installed.
Scene Setup
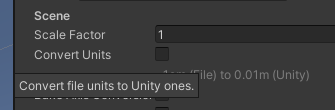
Now, let’s import the plane into Unity. Place the fbx or blend file to the asset folder of the Unity project. We need to change the import setting a little. Select the imported model and in the inspector, untick the Convert Units option.
Place the plane into your scene and you will get a very big plane blocking your whole scene. Simply reset the transform and you are good to go.

If you encounter a problem where you have a pink-colored object, I recommend you check my other tutorial on the Scene Setup section to address this issue.
Snow Trail Shader
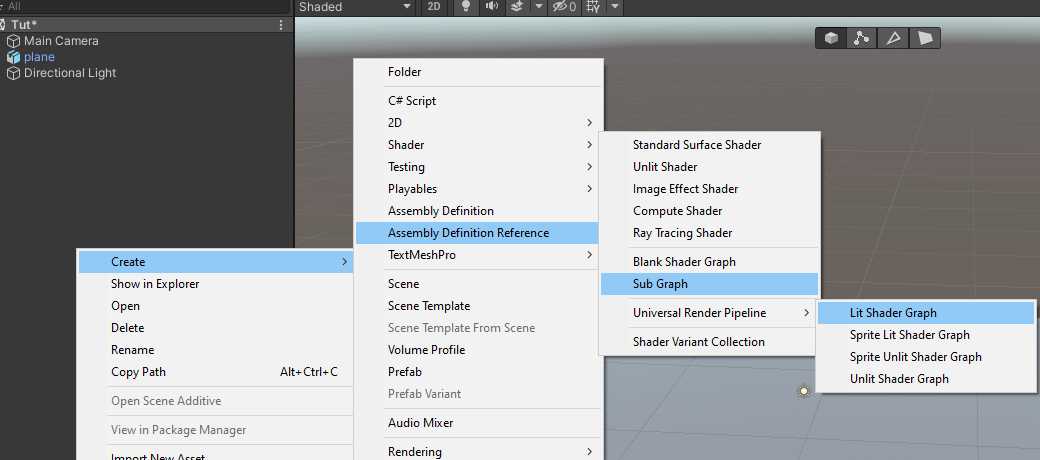
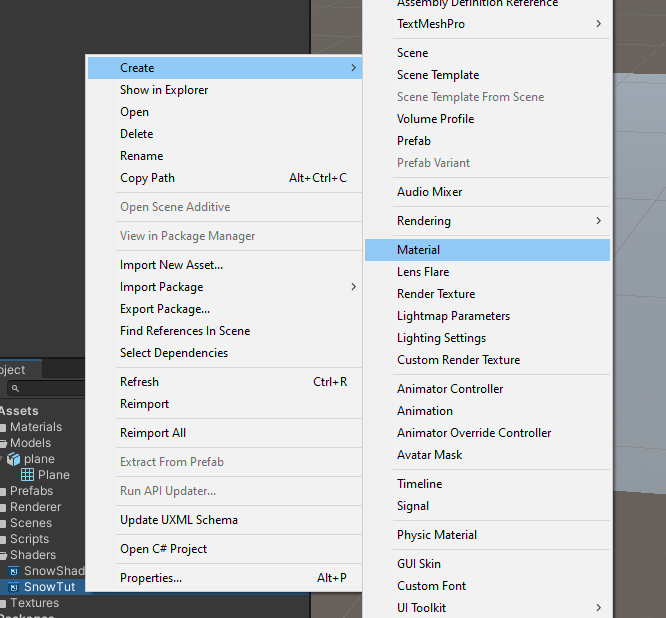
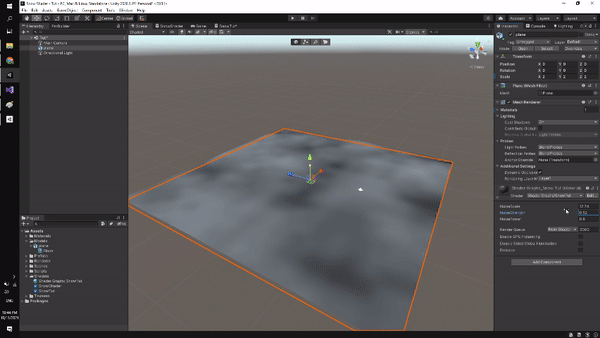
Create a Lit Shader Graph from the URP as shown in the picture below. Let’s name it SnowShader.
Then, create a new material from that shader and name it SnowMat. Assign the material to the plane.
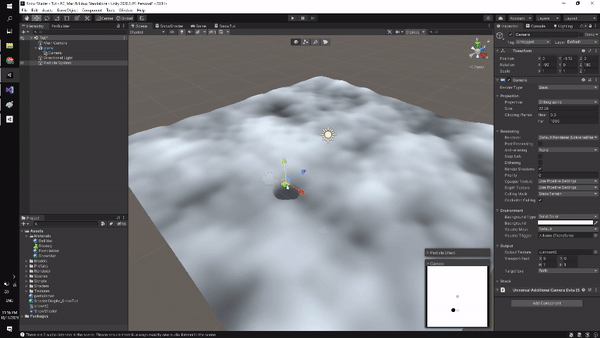
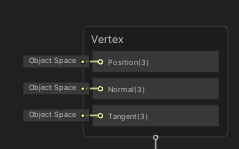
In this shader, the main focus is in the Vertex part, especially the Position output. That output lets us control where each vertices of the object will be rendered in the screen. We are going to manipulate the positions based on render texture to get the trail effect.
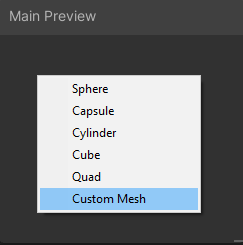
In the Main Preview window (located on the bottom right corner of the shader graph editor), you can use custom mesh and select the plane mesh in order to better visualize and quickly see the result without having to save the shader.
This shader consists of 2 main modules which are snow texture and vertex displacement. But, in order for this shader to work properly we also need to setup a render texture.
Note: If you’re having a hard time understanding what a node does, you can always refer to the Official Documentation.
Snow Texture
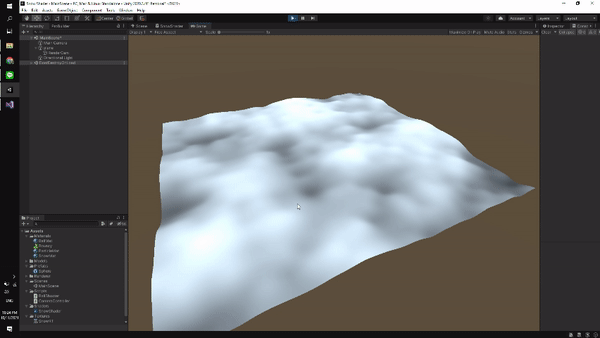
As you can see, our plane right now just have a plain color and doesn’t look like a snow. We can paint this plane with a texture to make it look more like a snow terrain. To achieve this we are going to use simple noise.
Create three float property and name it NoiseScale, NoiseStrength and, NoisePower. Next, add Simple Noise node and connect the NoiseScale to the Scale input. Connect the output of the node to Power node and use the NoisePower to control the B input. Lastly, multiply the output of the Power with NoiseStrength.
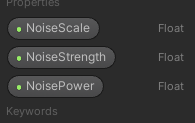
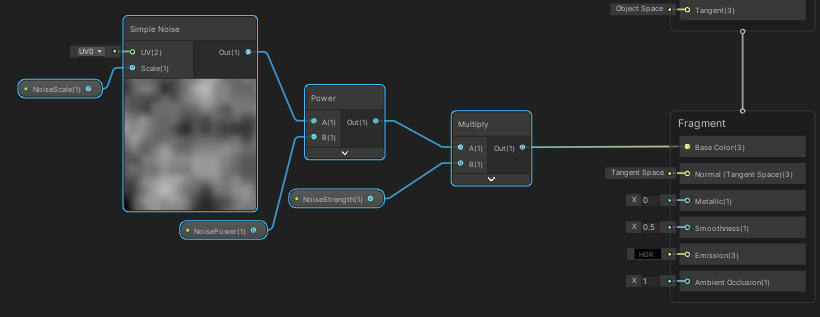
Basically, NoiseScale controls how rough our snow terrain, NoisePower controls the overall height of the snow pile, while NoiseStrength controls the maximum height of the snow pile.
Vertex Displacement
Currently our snow terrain still looks flat. We can use the noise that we made earlier as some kind of height map to control the y position of each vertex in the plane mesh.
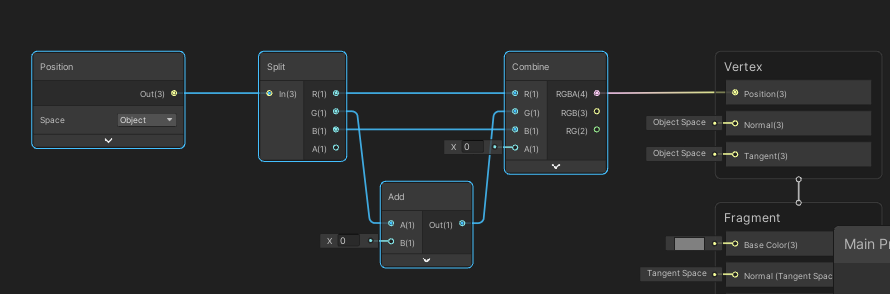
First, create Position node and set it to Object Space, then use Split node to get the position information for each axis. Use the Add node for the G output (which represents y axis) from the Split node to add some value. We will control this value, for now let’s leave it as default. Now, combine everything back using Combine node and connect the output to the Position input of Vertex.
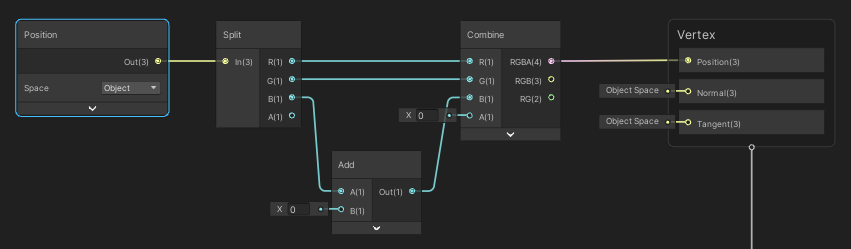
Next, let’s get the noise output from the series of nodes that we made earlier. Connect the noise output to the Add node.
Note: There is a bug in shader editor in Unity where it won’t allow you to connect some nodes even though they are compatible. To workaround this issue, you can connect the output first to a Preview node, then connect the output of the Preview node to the desired node.
Save the shader, go back to the Scene and fiddle around with the material property. You should get a pretty good snow terrain depending on the material property values.
Creating Render Texture
To create the trail effect, we need to deform the snow based on another object position. We can use render texture to record the object movement and feed it to our shader.
In order to create render texture, we need to set up second camera. This camera is special, unlike our main camera that renders to the game, it will render the output to the render texture.
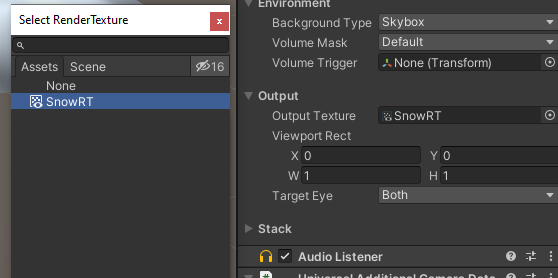
First, create new render texture from the project hierarchy and name it SnowRT.

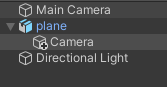
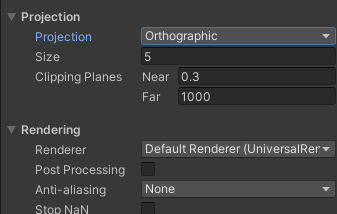
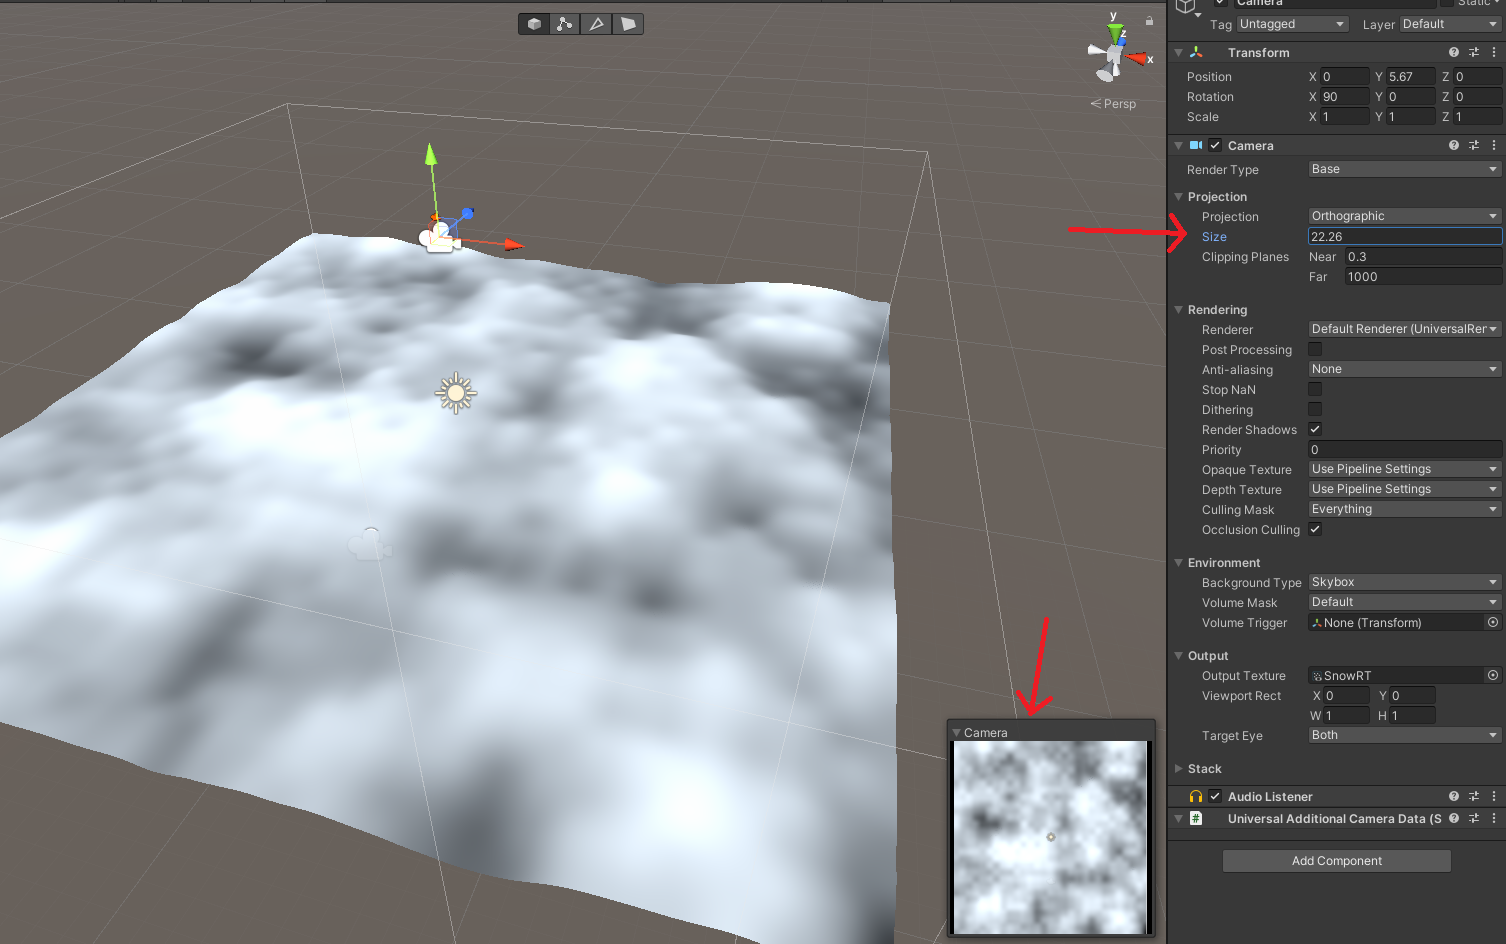
Create new camera and parent it to the existing plane. We want this camera to render only our plane without perspective, so change the projection type to Orthographic.
Remove the Audio Listener component from this camera because there can be only one of this component in a scene and it should be placed in the main camera.

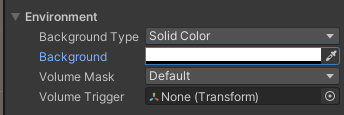
Configure the Output of the camera to render into the render texture that we created earlier. Change the Background Type to Solid Color and set it to complete white. This will be important later on.
Change the size of the projection in order for the camera to cover the whole plane. You can see the output of the camera in the preview.
Now, if everything is correct, you should see that this camera only outputs white color. We need to paint into this texture to indicate the position of an object. To do that, we are going to use Particle System.
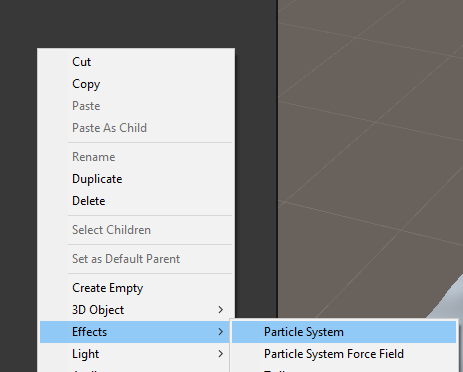
Create new Particle System in the project hierarchy.
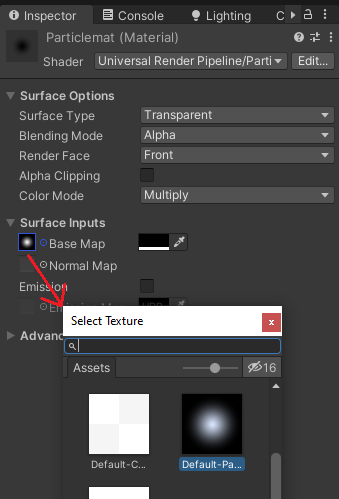
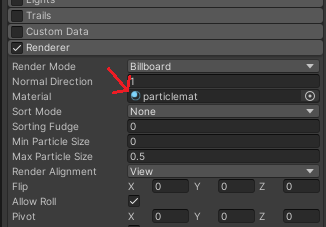
Next, let’s create a custom material for the Particle System and name it ParticleMat. In the shader dropdown menu, choose Particles Unlit Shader from the URP group. Change the Color Mode to multiply, use default particle as the BaseMap and set the color to black.
Remember that before, we set our camera output color to complete white. Now, we are going to pain using this black color. This is the reason why we need to set the Color Mode to multiply, because 0 (white) multiplied by 1 (black) will be 0 (black). To gain deeper understanding about this, I suggest you read from this documentation.
Note: The color black corresponds to RGB value of (0, 0, 0), while white is (1, 1, 1).
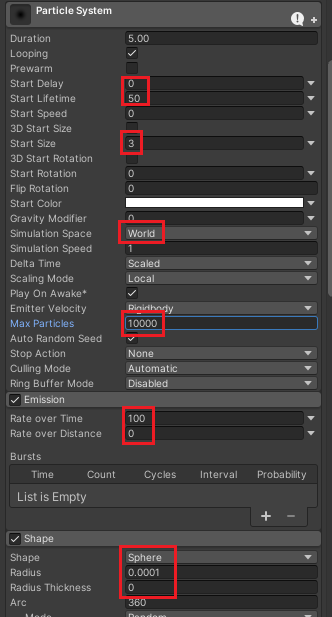
Let’s configure the Particle System. We want a constant spawning particle from a single location. To do that, change the Shape to sphere and Radius to near 0. Next, change the Simulation Space to World because we want this particle to move around. Assign the ParticleMat to the Material property and change the remaining parameters value according to the image below.
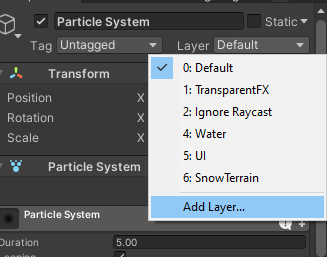
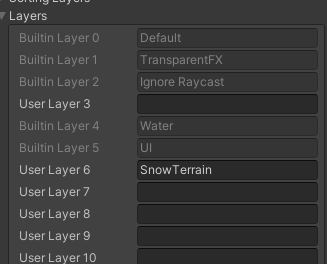
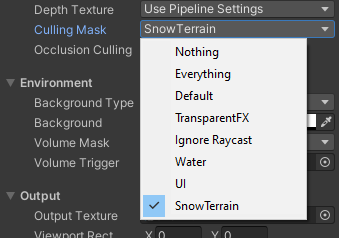
We want our second camera to basically only render this Particle System. To do that, create a new Layer and name it SnowTerrain. Place the Particle System in this layer by setting it in the inspector. Then, set our second camera Culling Mask to only select SnowTerrain.
Try to move around the particle in the Scene. You should get the following result. Notice in the camera preview, the camera renders the movement that you do with the Particle System in black while the rest is white.
Tips: To view the camera preview while moving the Particle System, you can select the camera then lock the inspector first (located in top right corner).
Integrating Render Texture with Shader
Notice that our render texture is actually only has grayscale value, so basically it goes from 0 to 1. We are going to use this texture as a mask for our vertex displacement. In places where the color is black (value of 0) we want no vertex displacement, while in places where the color is white (value of 1) we want vertex displacement based on the noise. This is the core logic of this shader.
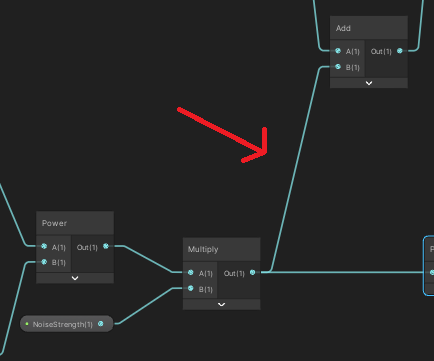
Back in the shader graph editor, create new Texture2D property and name it SnowRT. Sample it using Sample Texture 2D LOD node. Multiply the output with the noise earlier and connect the output to the Add node.
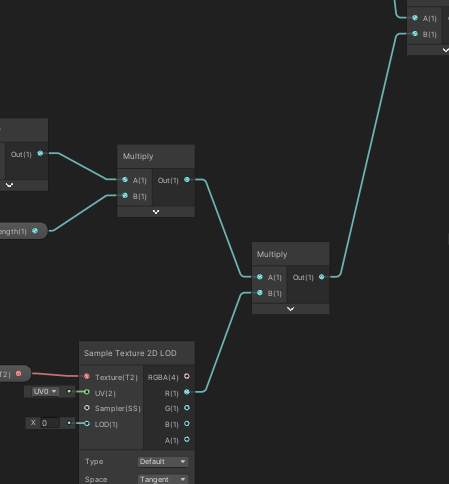
Note: We need to use Sample Texture 2D LOD node because we are using it to modify vertex position. This happens in the vertex stage of the shader in which the GPU doesn’t have enough information to auto-compute the LOD so we need to supply it manually.
Lastly, let’s take care of the color. Create 2 new Color property, name it SnowColor and TrailColor. Get the output of Sample Texture 2D LOD node in any channel (doesn’t matter which because the color is only black and white so the value is the same in all channel) and connect it to One Minus node. We will get the reverse of our render texture value in which now white will represent the object trail while the rest is black.
Multiply it with TrailColor and add the output to the noise. Then finally multiply the last output with SnowColor and connect it Base Color.
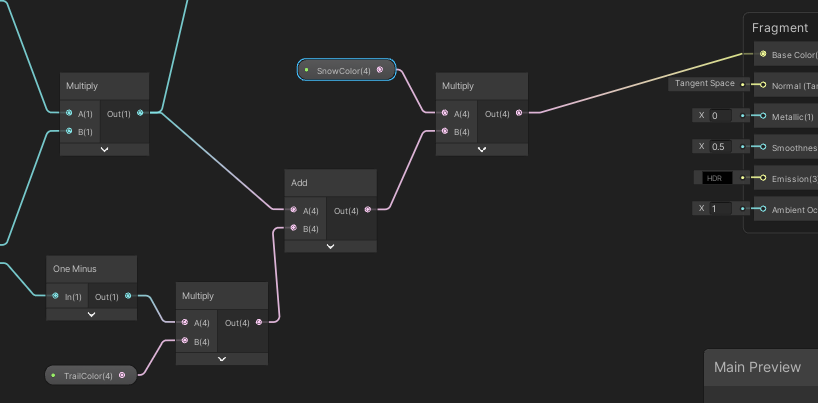
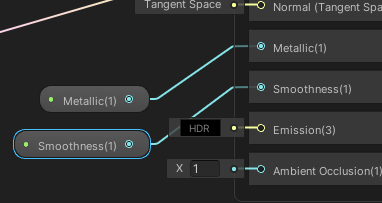
One last small things, create two new float property and name it Smoothness and Metallic and connect it directly to the Fragment node.
Save the shader, go back to the Scene and move around the Particle System.
You might encounter the issue where the movement does not match or rather mirrored. To fix it you can simply re-orient your second camera in a way until it the result matches your movement. Another issue might be the shadow in the terrain which can be resolved simply by disabling the cast shadow in the inspector.

Tips: You can hide the Particle System while remaining active by pressing the eye icon in the object hierarchy as shown in the GIF above.
After correcting the camera orientation, disable cast shadow, you should get something like this.
What’s Next
You can integrate this effect with maybe a player in your game by placing the Particle System as the child of the player. With simple setup you can achieve something like this.
Conclusion
In this tutorial we learn how to replicate the snow trail effect using Shader Graph in Unity. Using this technique, we can create dynamic environment that interacts with other objects.